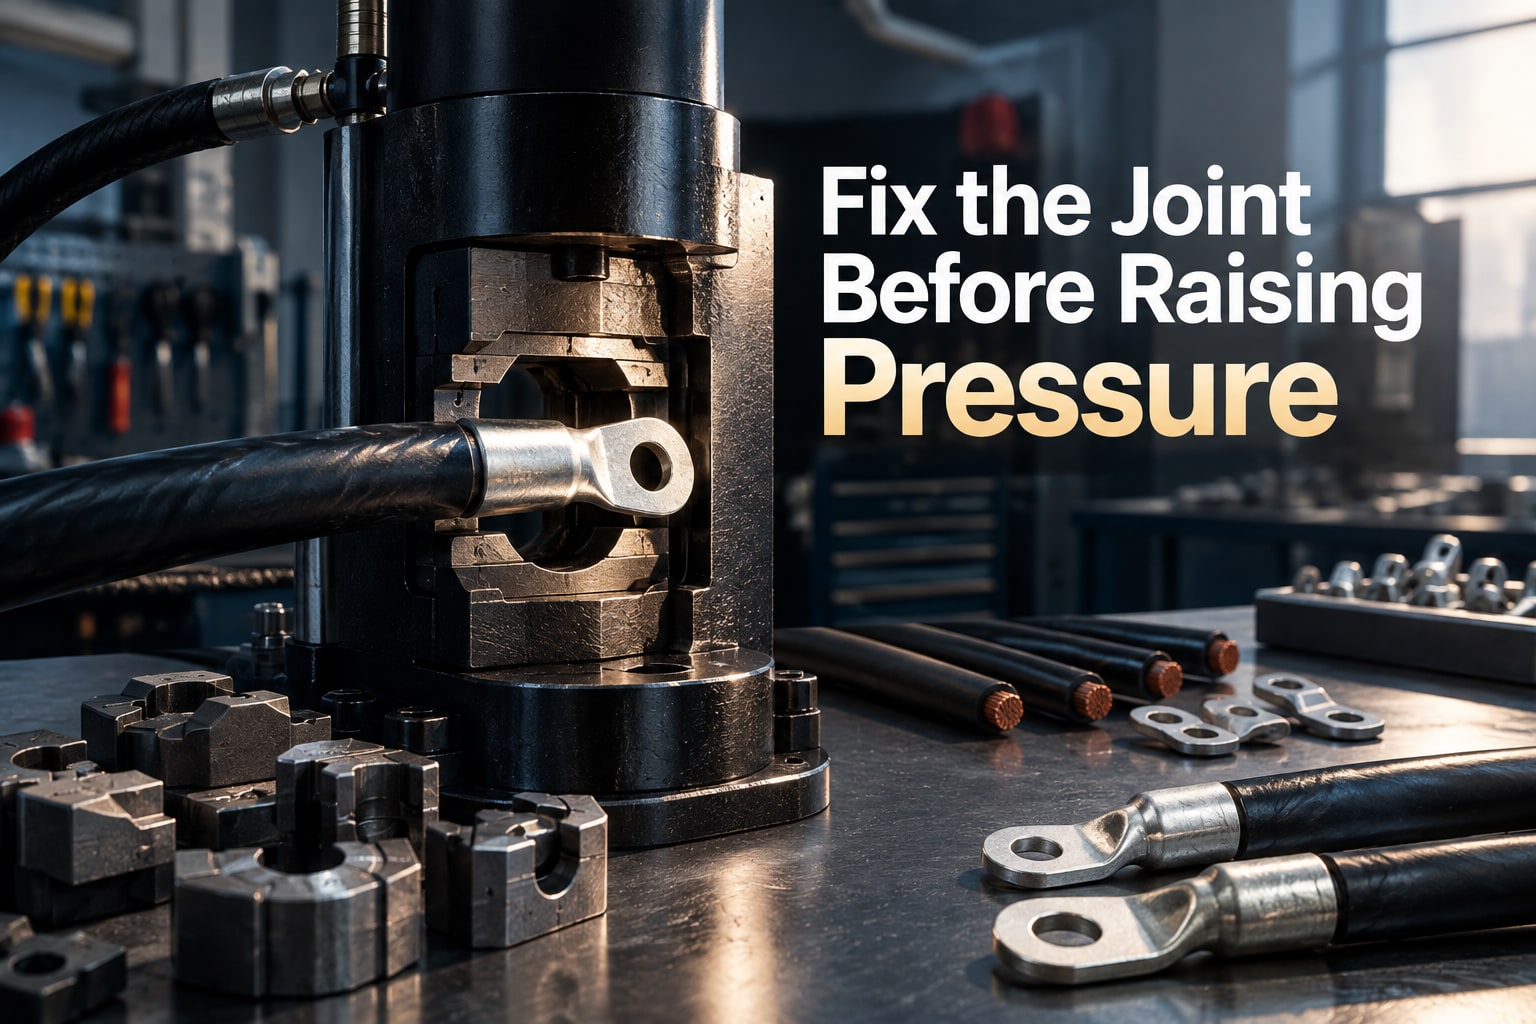
Loose strands, cracked lugs, uneven impressions and slipping cables usually point to a setup or component problem before they indicate a failed hydraulic press. Use a controlled diagnostic sequence to isolate the cable, lug, die, alignment and hydraulic cause, then confirm the repair with measurements and a specified pull test.
Key takeaways
- Quarantine suspect assemblies before changing hydraulic pressure.
- Match cable size, lug type and die profile before crimping.
- Check die wear, alignment and cable insertion depth for recurring defects.
- Verify crimp dimensions, marking and pull-test requirements before release.
Start with the Crimp Defect, Not the Pressure Gauge
Stop the machine and quarantine the suspect assembly before touching the pressure setting. Poor cable crimping results can come from positioning, die selection or damaged components—not low hydraulic pressure.
1. Classify the defect. An under-crimp leaves loose strands, cable rotation in the barrel, excessive crimp height and low pull-out force. An over-crimp cuts strands, reduces the conductor section or splits the barrel. An uneven crimp suggests poor centring, incomplete die closure or mismatched die halves.
Also record any cracked lug, slipping cable, flattened rope or visible strand damage.
2. Inspect the assembly. Confirm that the cable is fully inserted, the lug is centred and the conductor brush extends slightly beyond the barrel. Look for a controlled bellmouth at the barrel entrance. Insulation trapped inside the conductor barrel, an excessive flare or missing bellmouth points to incorrect strip length, terminal support or crimp position.
3. Record the cable identification, lug marking, die number, crimp location and machine pressure. This gives cable crimping machine troubleshooting a traceable starting point and separates a repeatable fault from operator positioning error.
4. Do not increase pressure at random. Extra force can hide a positioning error, cut more strands and create a cracked or over-compressed joint. Verify the known-good cable, lug and die set before changing any hydraulic setting, then confirm the finished crimp with the specified dimensional and pull-out test.
Match the Cable, Lug and Die Before Adjusting the Machine
Determine the fault as a consumable or setup problem before changing pressure. Cable crimping machine troubleshooting starts with the terminal or sleeve manufacturer’s crimp chart: match conductor material, cross-sectional area, strand class and connector series. Do not select a die by cable outside diameter or visual fit alone.
A copper die and an aluminium die are not interchangeable; follow the connector maker’s instructions for oxide removal, brushing and approved joint compound.
| Check | Consumable fault | Setup fault |
|---|---|---|
| Die condition | Chipped, rounded, corroded, contaminated or mismatched faces | Die halves not seated, identified or paired correctly |
| Cable and lug | Crushed cable, broken strands, corrosion, cracked or deformed lug | Incorrect strip length, insertion depth, centring or crimp position |
| Finished result | Lug or conductor damage remains after correct setup | Uneven impressions, poor closure or inconsistent operator positioning |
Replace damaged cable and cracked, deformed or contaminated lugs; pressure will not repair them. Confirm that each die half suits the lug geometry and conductor material. For long sleeves, follow the specified crimp sequence, spacing and direction. Overlapping impressions or starting at the wrong end prevents even force transfer.
Measure crimp height at the specified barrel position with a calibrated micrometer or crimp-height gauge. Never measure across a seam, flash or embossed mark. Record the result against the chart; poor cable crimping results can look acceptable while failing dimensional control.
Separate Hydraulic Cable Crimper Faults from Die and Positioning Errors
A hydraulic cable crimper fault affects ram movement, pressure stability or holding force even with a known-good cable, lug and correctly seated die. Start with the machine nameplate or manual data sheet for rated pressure and stroke limits; never invent a setting.
| Symptom | Likely hydraulic cause | Check |
|---|---|---|
| Pump noise with slow ram extension | Low reservoir level, suction restriction, wrong or contaminated oil, air or pump damage | Reservoir, oil, suction path and pump |
| Pressure will not build | Relief valve stuck open, damaged pump, blocked suction path or major leak | Relief valve, pump and external leaks |
| Pressure drops only under load | Hose or fitting leak, ram-seal bypass, weak pump or relief-valve fault | Pressure hold and loaded leak test |
| Ram drifts while holding | Cylinder seal bypass | Ram seals and internal leakage |
| Incomplete return | Blocked return flow, sticking valve or mechanical obstruction | Return circuit, valve and head |
This comparison separates hydraulic cable crimper faults from die and positioning errors during cable crimping machine troubleshooting. A gauge that reads incorrectly at zero needs a gauge, calibration or restricted-connection diagnosis; a loaded pressure drop points to the hydraulic circuit.
Inspect reservoir level, oil condition, filter condition, hoses, fittings, cylinder seals and relief-valve setting. Compare the installed gauge with a calibrated test gauge before changing pressure.
On powered pumps, check the motor, switches, wiring and interlocks. Stop production if you find overheating or abnormal vibration; continued operation can turn a repairable pump, valve or seal fault into major damage.
Run a Controlled Test Crimp and Verify the Finished Joint
Prove the correction with a controlled test crimp, dimensional measurement and a specified mechanical test—not appearance alone. Start with a known-good cable sample, an approved lug and an identified die set.
Clean and dry the work area. Seat the lug squarely, insert the cable to the specified depth and place the first impression as the connector instructions show. Confirm full die closure without forcing the ram beyond its rated stroke.
Inspect the finished joint for:
- Square lug position and symmetrical compression
- Barrel cracks, sharp burrs and excessive deformation
- Correct cable protrusion and controlled conductor brush
- Cut, loose or displaced strands
- Insulation trapped in the conductor barrel
- Adequate insulation clearance
Measure crimp height at the specified barrel position and record it against the manufacturer’s chart. Poor cable crimping results can look acceptable while failing under load, so appearance cannot prove mechanical retention or electrical resistance.
Test a representative assembly using the specified pull-out, tensile or proof-load procedure. Follow the assembly specification for load, fixture, hold time and acceptance limit; never substitute an improvised weight test.
For a rope or long sleeve, inspect every prescribed impression. Keep the first bend outside the termination’s minimum bend radius. A tight bend at the barrel concentrates stress at the crimp exit, which can pull strands from the sleeve or fatigue the conductor.
Choose a Complete Repair Scope for Chennai Conditions
Escalate to machine repair when a known-good cable, lug and die still produce inconsistent closure, pressure loss, ram drift, slow extension or incomplete return. Repeating setup changes at that point can hide hydraulic cable crimper faults and create over-crimped joints.
| Symptom | What it means | Repair scope |
|---|---|---|
| Inconsistent closure | Die geometry, head alignment or calibration may be wrong | Inspect dies and head; verify gauge accuracy |
| Loaded pressure drops | Leakage, ram-seal bypass, pump weakness or relief-valve trouble | Leak test and pressure-hold test |
| Slow extension or incomplete return | Restricted suction or return flow, air, contaminated oil or a sticking valve | Check oil, filter, pump, valves and ram seals |
A proper cable assembly machine repair in Chennai should document each finding and finish with a controlled proof crimp, not just a pressure adjustment.
- Replace seals, hoses, filters or hydraulic oil when inspection and test results identify the defect. Replacing only the pump or adjusting the relief valve is incomplete if die geometry or calibration remains wrong.
- Treat cable crimping machine problems in Chennai as environmental risks too: humidity, airborne salt and conductive dust accelerate die corrosion, terminal contamination and electrical-panel faults.
- Store dies and terminals in sealed, dry containers; clean and dry parts before setup, inspect for corrosion, and keep hydraulic oil away from the work area.
Hydropower Engineers can be considered when you need hydraulic equipment inspection tied to a recorded proof crimp, cause and acceptance result.
Related product
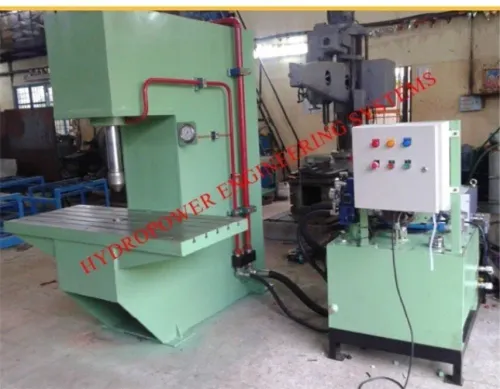
 | Special Equipments The Cable Crimping Machine from Hydropower Engineering Systems is a compact and efficient hydraulic-operated crimping press designed for securely... View product → |
Frequently asked questions
What should you check before adjusting hydraulic pressure?
Stop the machine, quarantine the suspect assembly, and inspect cable positioning, lug selection, die fit and component condition first.
How do you match a cable, lug and die?
Confirm the cable conductor size, lug material and barrel type, then select the die marked for that lug and conductor range.
How can you separate hydraulic cable crimper faults from setup errors?
Compare the defect with die wear, alignment, insertion depth and cable movement, then inspect hoses, seals, valves and pressure-holding performance.
How do you verify a finished cable crimp?
Inspect the finished shape, measure the crimp against the specified dimensions, check the witness mark and complete the required electrical or mechanical test.