A tube can pass a single diameter check and still fail through ovality, taper, eccentricity, cracking, bore restriction, or surface damage. You will be able to contain suspect production, separate tooling and setup faults from upstream or measurement problems, and restart a Chennai line with documented dimensional evidence rather than guesswork.
Key takeaways
- Quarantine suspect tubes before changing machine settings or tooling.
- Compare entry, exit, ovality, wall thickness, and length before acceptance.
- Inspect die presentation, pass schedule, lubrication, and incoming tube condition.
- Restart with documented settings and a controlled trial batch.
Stop the Spread: Identify the Swaging Process and Quarantine the Right Parts
Stop the machine and quarantine the suspect swaged tubes before changing a die, feed setting, or lubricant. Mixing good and bad parts turns a contained swaged tube quality problem into a lot-wide investigation.
1. Mark the last accepted tube and the first rejected tube. Isolate production by machine, die set, shift, operator, tube heat or lot, and lubricant batch. Tag the quarantine area so no part returns to assembly or dispatch.
2. Identify the process before adjusting it: rotary swaging, die-and-press end forming, or tube-reduction swaging. Record the tube alloy and temper, starting outside diameter and wall, die geometry, reduction per operation, lubrication, and mandrel use. These processes create different defect patterns; the wrong adjustment can hide the real cause.
3. Preserve one failed tube exactly as produced. Photograph the defect, measure its location and size, and record outside diameter, wall thickness, bore, and visible scoring before anyone reworks it. A second pass can mask the original mechanism, add work hardening, or reduce the bore.
4. Capture the machine state: cycle count, force or motor-load trend, hydraulic pressure and oil temperature, alarms, stroke, end-stop position, and feed length. Check tooling and stock for condensation, corrosion, contamination, or damage rather than blaming Chennai’s humidity.
This first containment record gives tube swaging machine troubleshooting a traceable starting point and prevents a replacement die from sending the same defect back into production.
Match Each Defect to Its Most Probable Cause
Read the geometry before adjusting the machine. A uniform defect around the circumference points to die geometry, reduction, or material; a defect concentrated on one side points to alignment, support, guide, or mandrel error.
- Oversized diameter, taper, or increasing flash indicates worn dies, incorrect die geometry, incomplete stroke, or excessive springback. A taper that follows the feed direction points to stroke or pass-schedule error.
- Undersized diameter or excessive wall reduction indicates too much reduction, the wrong die set, excessive feed, or a tube with thinner incoming wall.
- Uneven reduction, ovality, and eccentric wall thickness indicate die misalignment, a bent mandrel, worn guide, poor tube support, or tube slip. Rotate the part and compare clock-position readings.
- Wrinkles and end flaring indicate insufficient support, excessive reduction per pass, incorrect feed length, incomplete engagement, or an end-stop fault.
- Splits point first to excessive reduction, a sharp die transition, low-ductility material, or an incorrect temper. If only one heat or lot splits, suspect material variation before changing alignment.
- Long directional scoring suggests poor lubrication, contaminated lubricant, embedded chips, or die pickup. A repeating short mark points to chipped tooling or chatter; check whether its spacing matches machine rotation or stroke.
- Galling with rising load indicates lubricant failure or die pickup; intermittent marks after a die change implicate contaminated lubricant or tube stock.
For rod pipe tube swaging machine defects, treat load as a clue, not acceptance evidence. Rising load can accompany blockage or material variation; falling load can signal slip or incomplete engagement. In tube swaging machine troubleshooting, record machine type, alloy, temper, die, mandrel, reduction, and lubricant batch before changing settings.
Measure More Than One Diameter Before Accepting a Swaged Tube
A single caliper reading can miss ovality, taper, eccentricity, or a short out-of-specification zone at the die exit. For swaged tube quality problems, inspect several clock positions and axial locations, then compare the results with the drawing tolerance.
| Check | Inspection method | Reject signal |
|---|---|---|
| Outside diameter | Use a calibrated micrometer or measuring machine at 0°, 90°, 180°, and 270°, near both ends and through the formed length. Record minimum, maximum, and average readings. | Any reading outside tolerance, or ovality calculated as maximum OD minus minimum OD above the drawing limit. |
| Wall and bore | Measure wall thickness ultrasonically or on a sectioned sample; check the internal diameter with a calibrated bore gauge or air gauge. | Thin spots, eccentric wall, reduced bore, steps, or blocked passage. |
| Taper and length | Take OD readings at fixed stations along the swage and verify finished length against the part drawing. | Progressive diameter change or an out-of-tolerance formed length. |
| Straightness | Roll the tube on a certified surface plate and measure runout with a dial indicator. | Runout above the specified straightness limit. |
| Surface and cleanliness | Inspect under bright light and use a borescope for the bore; flush hydraulic tubes using the specified cleanliness method. | Scoring, galling, cracks, burrs, slivers, scale, lubricant residue, or loose particles. |
Record results against tube heat, lot, die set, and shift. Do not release a part because machine force looks normal; load is a process indicator, not dimensional proof. Preserve the failed sample before reworking it.
Check Presentation, Pass Schedule, and Upstream Tube Condition
A flared, split, or rolled tube end can be created before swaging begins. A saw blade that work-hardens the edge, an aggressive external chamfer, an internal burr, or excessive material removal changes the section presented to the die. Check first-off parts after cutting and deburring, then compare them with parts from upsetting, pointing, or drawing.
Confirm the process before changing a die. Rotary swaging, die-and-press end forming, and tube-reduction swaging need different setup checks. A troubleshooting record should capture:
- Machine type, tube alloy and temper, starting outside diameter and wall thickness
- Die geometry, guide and mandrel condition, tube support, and alignment
- Reduction per operation, pass sequence, feed length, stroke, and end-stop position
- Lubricant batch, application method, contamination, and actual die pickup
- Failed samples identified by machine, die set, shift, operator, tube heat or lot
If the starting tube is sound but the first pass creates uneven reduction, taper, wrinkles, or ovality, inspect die alignment, support, mandrel position, and the pass schedule. Excessive reduction in one operation can split a work-hardened end or hide an earlier drawing defect.
Do not judge rod, pipe, or tube swaging machine defects by force alone: rising load can indicate poor lubrication or excessive reduction, while falling load can indicate slip or incomplete engagement.
For Chennai production, check condensation, corrosion, hydraulic-oil temperature, pressure stability, and electrical alarms against the defect record. Rework a failed part only after measuring it; another pass can erase the original cause.
Restart Chennai Production with a Controlled Trial and Service Scope
A failed trial should not become a second production stop. For pipe swaging machine problems in Chennai, restart only after you identify the machine type, tube alloy and temper, die set, reduction schedule, lubricant batch, and affected production lot.
- Isolate the suspect die set, tube stock, lubricant, and machine; preserve one failed tube and record dimensions before reworking anything.
- Check storage and utilities: inspect tubes and tooling for condensation or corrosion, then verify machine alarms, hydraulic-oil temperature, oil contamination, electrical stability, and pressure repeatability.
- Install the approved tooling and run a short trial using the production tube grade, lubricant, mandrel arrangement, feed length, and reduction schedule.
- Measure the first-off tube at multiple clock positions for outside diameter, wall thickness, ovality, taper, straightness, and surface damage. Compare load trends with these results rather than treating force as an acceptance limit.
- Release production only after consecutive parts meet the recorded limits; clean, flush, dry, and package hydraulic-service tubes to the specified fluid-contamination requirement.
When arranging pipe swaging machine service in Chennai, require a written scope covering:
- Machine alignment and runout checks, plus die and mandrel inspection.
- Hydraulic pressure and temperature verification.
- Stroke and end-stop calibration.
- Electrical or servo diagnostics.
- First-off dimensional validation and a documented trial with your production tube grade.
Tell Hydropower Engineers the complete defect history; replacing a die without checking alignment, feed, and reduction settings can return the same failure after a short run.
Related product
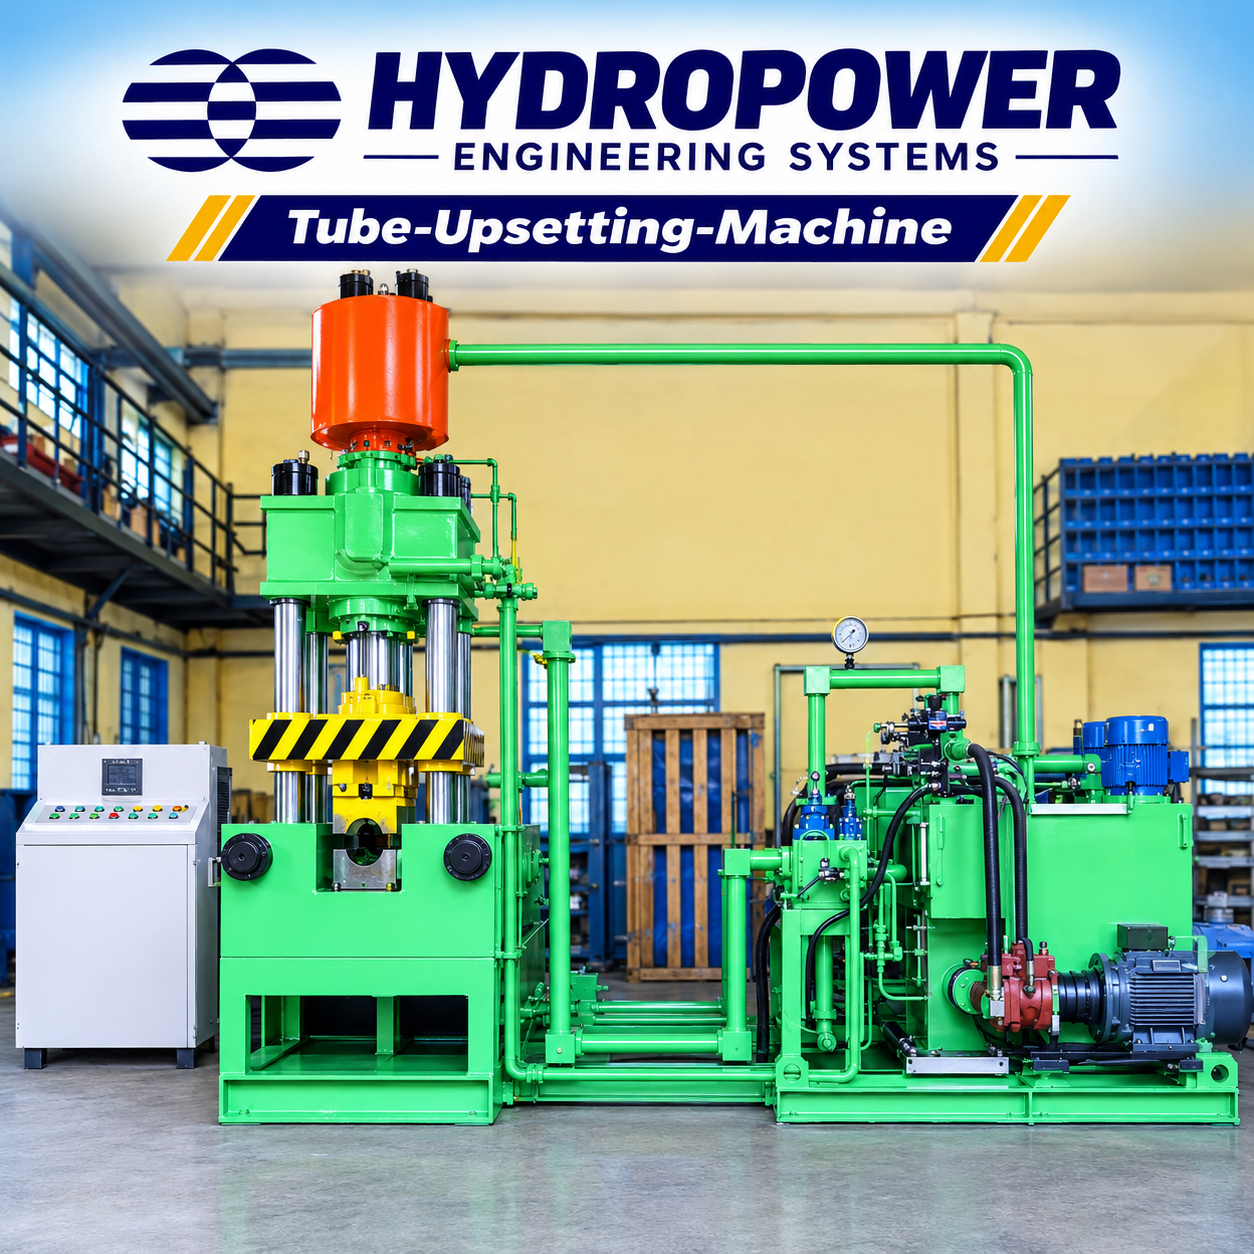 | Tube-Upsetting Machine The Tube Upsetting Machine from Hydropower Engineering Systems is designed for high-performance hot forging of tube ends. View product → |
Frequently asked questions
What should you do first when swaged tube defects appear?
Stop the machine and quarantine suspect tubes before changing the die, feed setting, or lubricant. Keep confirmed good and suspect parts separate.
Which measurements matter when checking a swaged tube?
Measure more than the final diameter. Check entry and exit diameters, ovality, wall thickness, length, and the transition between the swaged and unswaged sections.
What causes common swaged tube quality problems?
Inspect the die presentation, pass schedule, feed and alignment settings, lubricant application, and the incoming tube’s diameter, wall thickness, straightness, and surface condition.
How should you restart production after troubleshooting a swaging defect?
Record the corrective setting, run a controlled trial, inspect the trial parts against the full dimensional requirement, and release production only after the result is stable.